Typescript로 만든 라이브러리 NPM에 배포하기 (With Github Actions)
사전준비
Typescript를 이용하여 만든 라이브러리를 NPM에 배포해보려고 한다. Typescript로 만든 소스코드가 빌드된 결과물을 임포트하는 것이다. NPM에 배포를 위해선 몇 가지 준비가 필요하다.
NPMJS 회원가입
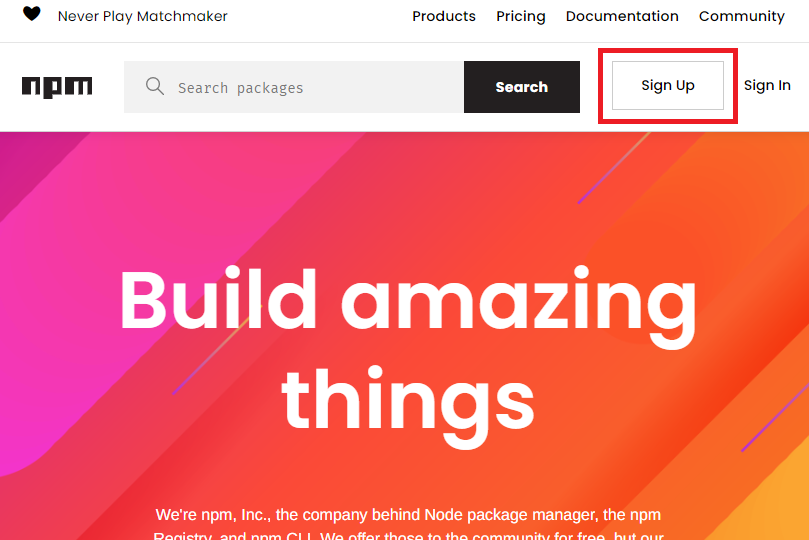
해당 사이트에서 회원가입을 한다.
깃허브에 Repository 생성
소스코드를 올릴 Github Repository를 생성한다.
라이브러리 설정
이미 Typescript로 짜여진 소스코드가 있다고 가정을 한다. Typescript 소스코드 작성법은 이 포스팅에서 알려주지않는다.
NPM 초기설정
라이브러리의 NPM 초기설정을 한다. 기본 설정으로 넘어간다.
npm init

package name: (express-v-router)
version: (1.0.0)
description:
entry point: (index.js)
test command:
git repository:
keywords:
author:
license: (ISC)

Is this OK? (yes)
package.json 수정
NPM 배포를 위해 예제로 제가 만든 express-v-router의 package.json을 참고하여 package.json을 수정한다.
{
  // 라이브러리 이름, npmjs에 등록된 라이브러리들과 중복이 없어야 된다.
  "name": "express-v-router",
  // 버전
  "version": "1.0.0",
  // 설명
  "description": "It is a router that can be versioned using url path in express.",
  // 만든이
  "author": "sdg9670 <sdg9670@naver.com>",
  // 기여자
  "contributors": [
    "sdg9671 <sdg9671@naver.com>",
    "sdg9672 <sdg9672@naver.com>",
    "sdg9673 <sdg9673@naver.com>"
  ],
  // 라이센스
  "license": "MIT",
  // repository 정보
  "repository": {
    "type": "git",
    "url": "https://github.com/sdg9670/express-v-router.git"
  },
  // 버그 리포팅 정보
  "bugs": {
    "url": "https://github.com/sdg9670/express-v-router/issues",
    "email": "sdg9670@naver.com"
  },
  // 라이브러리 홈페이지
  "homepage": "https://github.com/sdg9670/express-v-router",
  // 라이브러리 키워드 (검색 등)
  "keywords": ["express", "version", "versioning", "router", "api", "server"],
  // 빌드 결과물이 생성되는 경로가 dist 이다.
  // 라이브러리 export 지점
  "main": "dist/index.js",
  // 타입정의 export 지점
  "types": "dist/index.d.ts",
  "scripts": {
    // 빌드 관련 명령어들
    "build": "npm run build:typescript && npm run build:babel",
    "build:typescript": "tsc",
    "build:babel": "babel lib --out-dir dist --extensions \".ts,.tsx\" --source-maps inline",
    // 테스트 명령어들
    "test": "npm run build && npm run test:lint && npm run test:lib && npm run test:express && npm run test:dist",
    "test:lib": "mocha -r ts-node/register test/lib/**/*.spec.ts",
    "test:express": "mocha -r ts-node/register test/express/**/*.spec.ts",
    "test:dist": "mocha -r ts-node/register test/dist/**/*.spec.ts",
    "test:lint": "eslint --fix",
    // npm publish 직전에 빌드를 수행한다. (prepublishOnly: npm publish 직전에 실행)
    "prepublishOnly": "npm run build"
  }
}
.npmignore 설정
.npmignore 파일을 생성후 제외할 파일들을 입력한다.
빌드 폴더인 dist와 테스트 폴더인 test 폴더를 제외시켰다.
dist 폴더는 publish 직전에 npm script인 prepublishOnly에서 생성된다.
.*.swp
._*
.DS_Store
.git
.hg
.npmrc
.lock-wscript
.svn
.wafpickle-*
config.gypi
CVS
npm-debug.log
.vscode
.github

/dist
/test
첫 번쨰 배포
이제 배포할 준비가 끝났다.
npm 계정 설정
npm에 계정을 설정한다.
npm login
npm 배포
npm에 배포를 한다.
npm publish
Github Actions으로 Test 자동화 및 배포 자동화
Github Action을 통해 Test 자동화 및 배포를 자동화해보겠다.
Github에 push
Github에 소스코드를 push하여 최신 상태로 유지한다.
테스트 자동화 설정
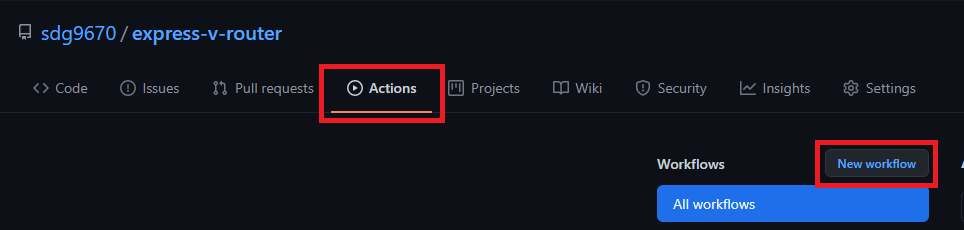
Github repository에서 Action 메뉴를 클릭하고 New workflow 버튼을 클릭한다.
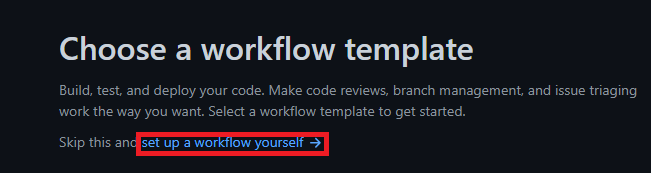
set up a workflow yourself를 클릭한다.
파일 내용은 아래와 같이 입력한다. Node 10, 12, 14, 15와 ubuntu, macOS, windows에서 테스트를 한다는 내용이다.
name: Test

on:
  push:
    branches: [main]
  pull_request:
    branches: [main]

jobs:
  build:
    strategy:
      matrix:
        node-version: [10.x, 12.x, 14.x, 15.x]
        os: [ubuntu-latest, macOS-latest, windows-latest]
    runs-on: $

    steps:
      - uses: actions/checkout@v2
      - name: Use Node.js $
        uses: actions/setup-node@v1
        with:
          node-version: $
      # 테스트를 수행하기 위한 명령어를 작성한다.
      - run: npm install
      - run: npm test
파일 이름을 test로 변경하고 커밋을 한다.
이렇게 되면 main 브랜치에 push 및 pull_request를 할 때 마다 테스트를 수행한다.
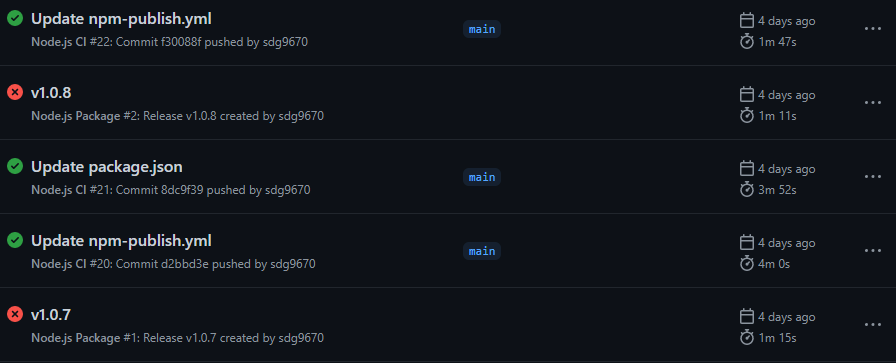
수행 결과 및 내역은 Actions 메뉴를 통해 확인할 수 있다.
NPM 배포 자동화 설정
아까와 마찬가지로 Actions 메뉴에서 New workflow 버튼을 클릭하고 set up a workflow yourself를 클릭하여 워크플로우를 작성한다. Github의 release 태그를 생성할 때 마다 NPM에 배포를 한다.
name: publish
on:
  release:
    types: [created]
jobs:
  build:
    runs-on: ubuntu-latest
    steps:
      - uses: actions/checkout@v2
      - uses: actions/setup-node@v1
        with:
          node-version: "12.x"
          registry-url: "https://registry.npmjs.org"
      # 배포를 위한 명령어들
      - run: npm install
      - run: npm test
      - run: npm publish --access public

        # NPM Access 토큰
        env:
          NODE_AUTH_TOKEN: $
배포를 할시 NPM 계정의 Access 토큰이 필요한데 다른 사람들에게 공개되면 안되기에 Github Repository의 secrets 기능을 이용한다.
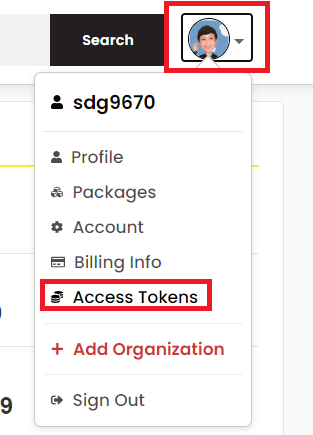
우선 NPMJS에 가서 Access 토큰을 받아야한다. 로그인을 하고 계정 프로필을 클릭 후 Access Tokens를 클릭한다.
Generate new token버튼을 클릭한 후 publish를 선택하고 토큰을 생성한다. 생성된 토큰은 절대 타인에게 공개해선 안된다. 토큰을 복사한다.
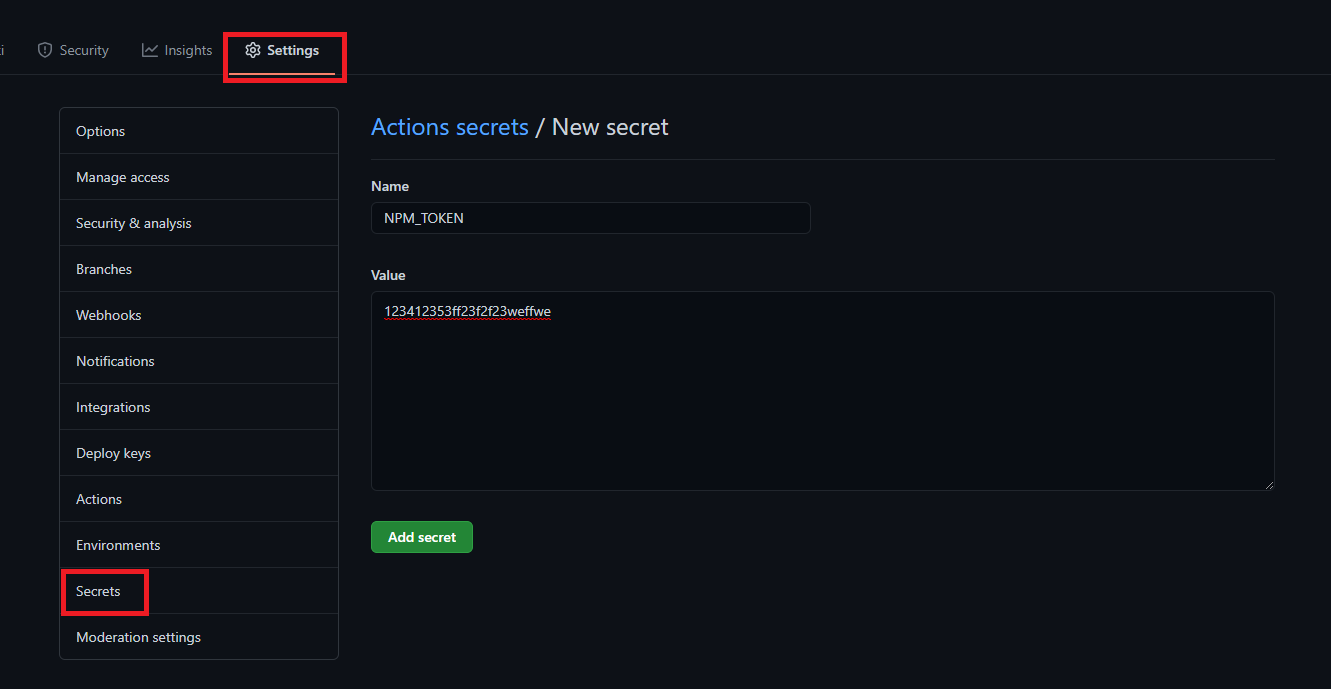
Github repository에서 Settings 메뉴를 클릭하고 Secrets 메뉴를 클릭한다. 그리고 New Repository secret 버튼을 클릭하여 아래와 같이 name을 입력하고 value에 복사한 토큰을 붙여넣기 한다.
npm 배포
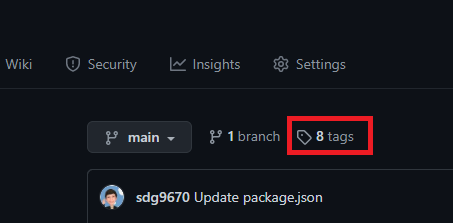
Github Repository에서 package.json을 열어 배포할 버전으로 수정하고 커밋한다.
그리고 tags를 클릭한다.
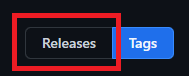
release 버튼을 클릭하고 Draft a new release 버튼을 클릭한다.
package.json에 입력한 버전과 동일하게 Tag Version을 입력한다. 그리고 제목과 내용을 적어 Publish release 버튼을 누른다.
그럼 Github의 Release 목록에 해당 버전이 추가되고 아까 설정한 Github Action을 통해 NPM에 배포된다.
정리
Typescript로 만든 라이브러를 Github Actions을 통하여 자동화를 하고 NPM에 배포하는 과정을 소개했다.
- Typescript 소스코드 작성
- NPM 관련 패키지 설정
- Github Actions에서 workflow 설정 (Test & Publish)
과정은 위와같이 크게 세가지이다.
Comments